
How to Create a Family Photo Gallery Wall: A Step-by-Step Guide
Creating a gallery wall with family photos is one of my favorite ways to turn your house into a home. Let’s chat about how to design a beautiful photo wall, choose the right pictures, plan your layout, and display the memories that matter most.
There is something special about walking into a room and seeing the people you love staring back at you. Ask me how important this will be when your oldest heads off to college.
Not the perfectly curated photos sitting on your phone. Not the thousands of images stored in the cloud that you swear you will print someday. (We have all been guilty of that one!)
I’m talking about the photos you can actually see every single day.
The ones that remind you of the little moments. The giggles. The personalities. The season of life you never want to forget.
A family photo gallery wall is one of my favorite ways to bring those memories into your home. It adds warmth, personality, and a story to your space. Whether you are creating a wall of family portraits, a hallway photo display, a staircase gallery wall, or a collection of your children’s artwork, your gallery wall should feel like you.
The best part? There is no “perfect” way to create one.
Your gallery wall does not need to look like a magazine spread. It needs to tell your family’s story. So, here are my best tips for creating a gallery wall you will love.
Step 1: Choose the Feeling You Want Your Gallery Wall to Create
Before you pick frames or decide on sizes, think about the feeling you want when you walk past your wall.
Do you want it to feel:
- Warm and sentimental?
- Fun and playful?
- Modern and clean?
- A celebration of your family’s history?
- A reminder of a special season?
Choosing a theme will help your gallery wall feel intentional instead of like a collection of random pictures.
Some popular family gallery wall ideas include:

a. Family Photo Gallery Wall
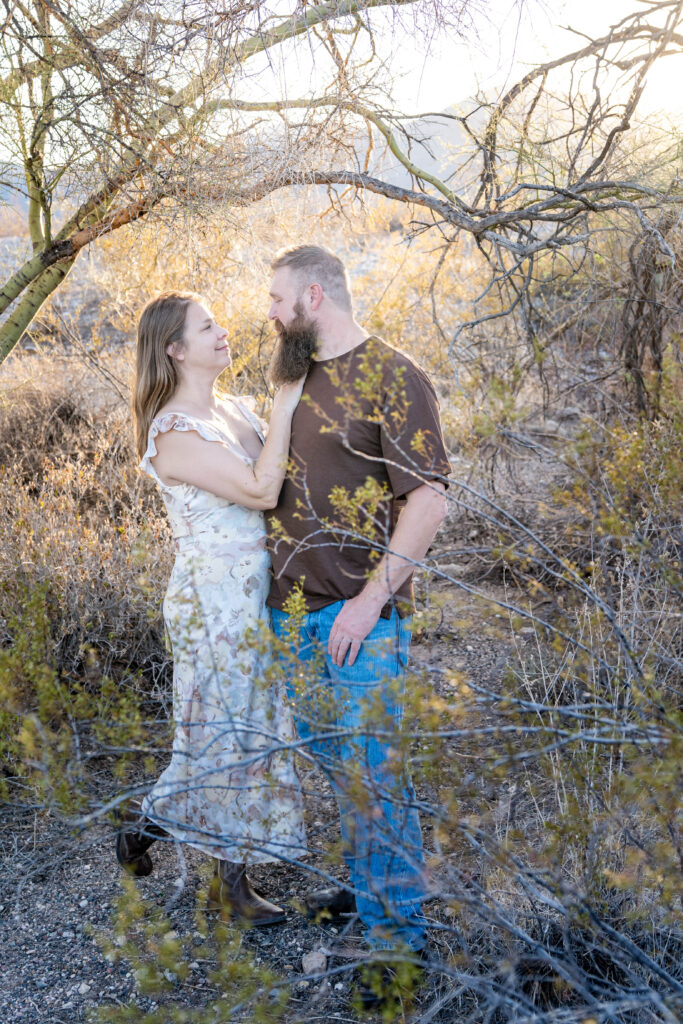
This is probably the most common and my personal favorite. Display the people who make your house a home.
Ideas could include:
- A large family portrait as the centerpiece
- Individual portraits of each child
- Sibling photos
- Photos with pets
- Candid moments that show your family’s personality
b. Vacation Memory Wall
Travel memories make beautiful gallery walls because they tell a story. It can be one epic vacation or many.
Include:
- Favorite vacation photos of the landscape as well as family and loved ones.
- Maps
- Tickets or small souvenirs
- Landscape photos from your adventures
c. Kids’ Artwork/ Photos Wall
Your children’s artwork deserves to be displayed! Combine their creations with photos of them creating those masterpieces.
This creates a beautiful reminder of not only what they made, but who they were during that season of life.
d. Nature-Inspired Gallery Wall
Bring the outdoors inside with:
- Desert landscapes
- Beach photos
- Mountain views
- Botanical prints
- Your own backyard or childhood home
These photos work great on different mediums – combine framed prints, canvas or metal.
Step 2: Choose the Photos and Pieces You Want to Include
Once you decide on the type of wall you want to create, it is time to choose what actually goes on that wall.
This is where it can become overwhelming because, let’s be honest, most moms have thousands of photos.
Q. How do you choose?
A. Start with the photos that make you stop scrolling.
“I never want to forget this.”
Those are the ones that belong on your wall.
Consider including:
Professional Family Photos
Professional portraits are a beautiful foundation for a gallery wall because they are designed to tell your family’s story.
Think about including:
- Full family portraits
- Individual portraits of each child
- Parent photos
- Sibling moments
- Pet photos
Personal Photos
Your gallery wall does not have to be only professional images.
Mix in:
- Vacation photos
- Everyday moments
- Childhood photos
- Generational family photos
Other Meaningful Items
Adding different textures and elements makes your wall feel unique.
Consider:
- Artwork
- Quotes
- Handwritten notes
- Wedding photos
- Baby announcements
- Small objects
- Metal pieces
- Mirrors
Those little details are what make it ours.
Step 3: Decide What Type of Prints and Frames You Want
One question I get often is:
Should I choose canvas, framed prints, or metal prints for my gallery wall?
The answer depends on how you want to use your wall.
Canvas Prints
Canvas creates a warm, timeless look and works beautifully for larger family portraits.
Pros:
- No glare
- Adds texture
- Has a classic feel
Something to consider: If you like changing your photos often, canvas can be harder to store and is usually a bigger investment.
Framed Prints
Frames are a great option if you want flexibility.
Pros:
- Easy to switch photos
- Great for seasonal updates
- Endless style options
A framed gallery wall is perfect if you love updating your home throughout the year.
Metal Prints
Metal prints create a modern, vibrant look.
Pros:
- Crisp colors
- Durable
- Great for colorful images
The most important thing is choosing something you will enjoy seeing every day.
Step 4: Plan Your Gallery Wall Layout Before Hanging Anything
Please trust me on this one…Do not start randomly putting holes in your wall. Your future self will thank you.
Before hanging your gallery wall, lay everything out on the floor.
This allows you to see:
- If the sizes work together
- If there is enough balance
- If anything feels too crowded
- If you need to remove or add pieces
Some popular gallery wall layouts include:
Grid Gallery Wall
Perfect for a clean, modern look. Best for:
- Matching frames
- Family portraits
- Instagram-style photo walls
Organic Gallery Wall
This is my favorite because it feels more collected and personal. Mix:
- Different sizes
- Different shapes
- Different artwork
Centered Gallery Wall
Choose one large image as your focal point and build around it. It’s one of the most common and easy to change up.

Step 5: Measure and Mark Your Wall
Once you have your layout finalized, it is time to move everything to the wall.
A few tips:
Start With Your Center Point
Most gallery walls look best when centered around eye level. A good starting point is placing the middle of your artwork around 57–60 inches from the floor.
Use Paper Templates
One of my favorite tricks:
- Trace your frames onto paper
- Cut them out
- Tape them onto your wall
This lets you move things around without creating a wall full of holes.
Keep Spacing Consistent
Most gallery walls look best with about 2–3 inches between pieces. Too much space can make it feel disconnected. Too little space can make it feel cluttered.
Step 6: Hang Your Gallery Wall
Now comes the exciting part!
Start with your largest or most important piece first.
Then build outward.
A few helpful tools:
- Level
- Measuring tape
- Picture hanging hooks
- Stud finder for heavier pieces
And remember…
It does not have to be perfectly symmetrical to be beautiful. Your family is not perfectly symmetrical either. The personality is what makes it special.
Family Gallery Wall Ideas for Different Spaces
Living Room Gallery Wall Ideas
Try:
- Large family portrait
- Neutral frames
- A mix of candid and posed images
Staircase Gallery Wall Ideas
A staircase is one of the best places for family photos.
Ideas:
- Year-by-year family photos
- Children growing up
- Generational photos
Hallway Photo Wall Ideas
Hallways are perfect for storytelling.
Create a timeline:
- Baby photos
- First days of school
- Vacations
- Family milestones
Kids’ Bedroom Gallery Wall Ideas
Make it personal with:
- Their artwork
- Favorite memories
- Quotes they love
- Photos with friends and pets
My Own Family Gallery Wall Inspiration
If you want to get into my head as I update my own personal wall at home keep reading.
When I decided to update the wall in my family room, I knew I wanted it to feel like home.
Since we live in Arizona, I wanted a desert-inspired gallery wall with warm tones, canvas prints, and little details that reminded me of the place we love.
I wanted it to include our family, our story, and the little things that make us who we are.
Because that is the thing about photos — they are not just decorations. They are reminders.
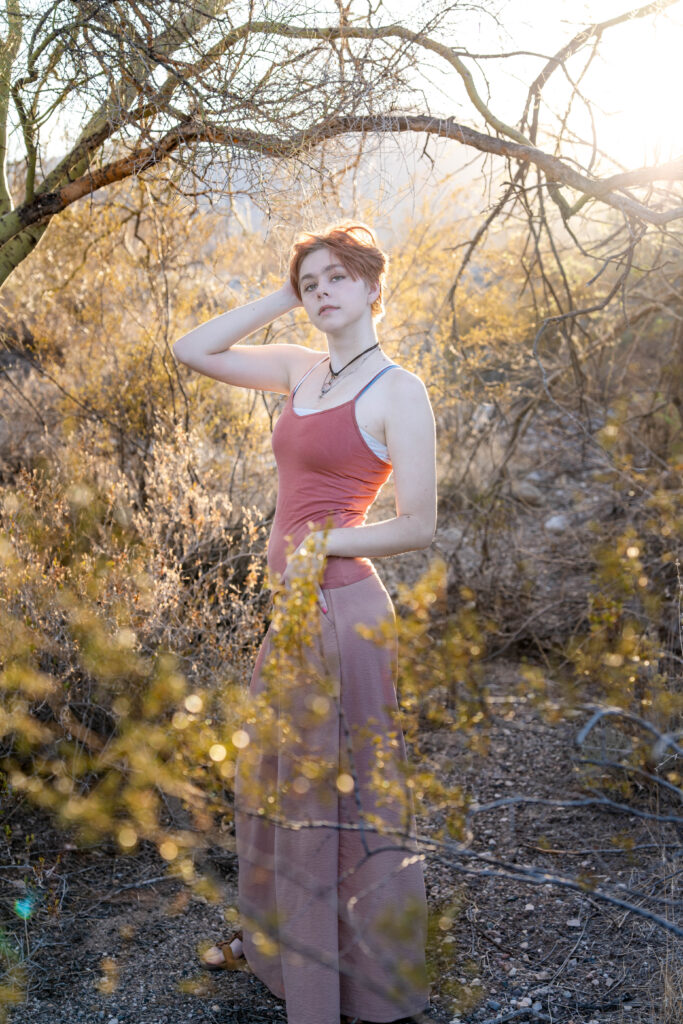
How I Picked Our Outfits For the Photoshoot
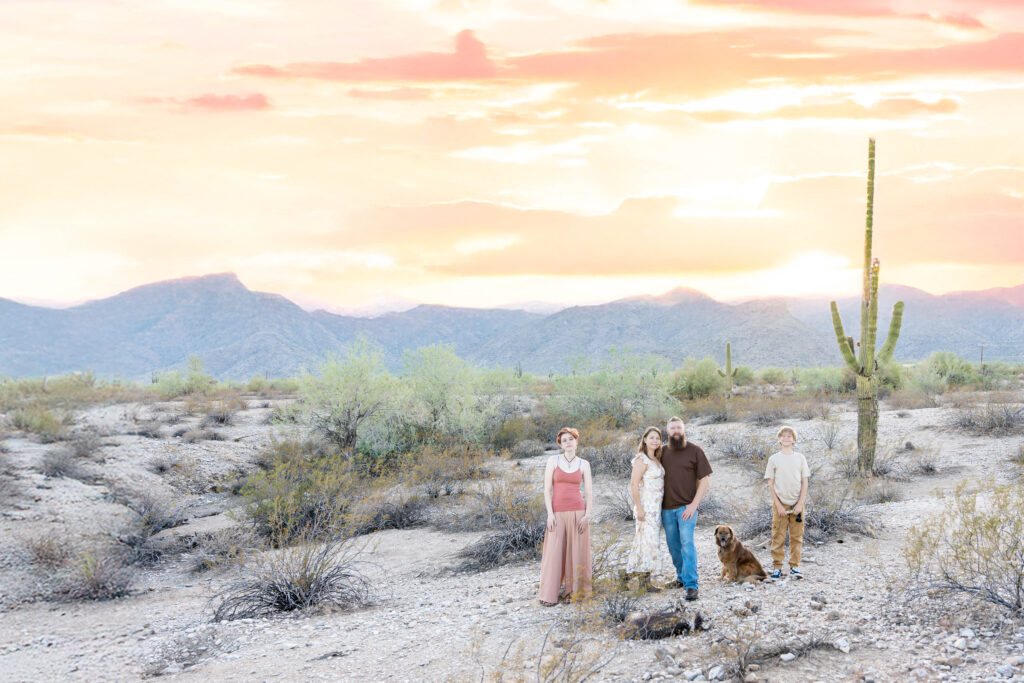
Before I could make my new wall come to life I needed new photos and as a photographer any reason to take updated photos is a reason. LOL! Below I talk through how I decided on each outfit for my family.
My Original Gallery Wall Plan (And Why I Changed It)
Originally, I had a much bigger vision.
I pictured:
- A large 30×40 family portrait with an Arizona sunset
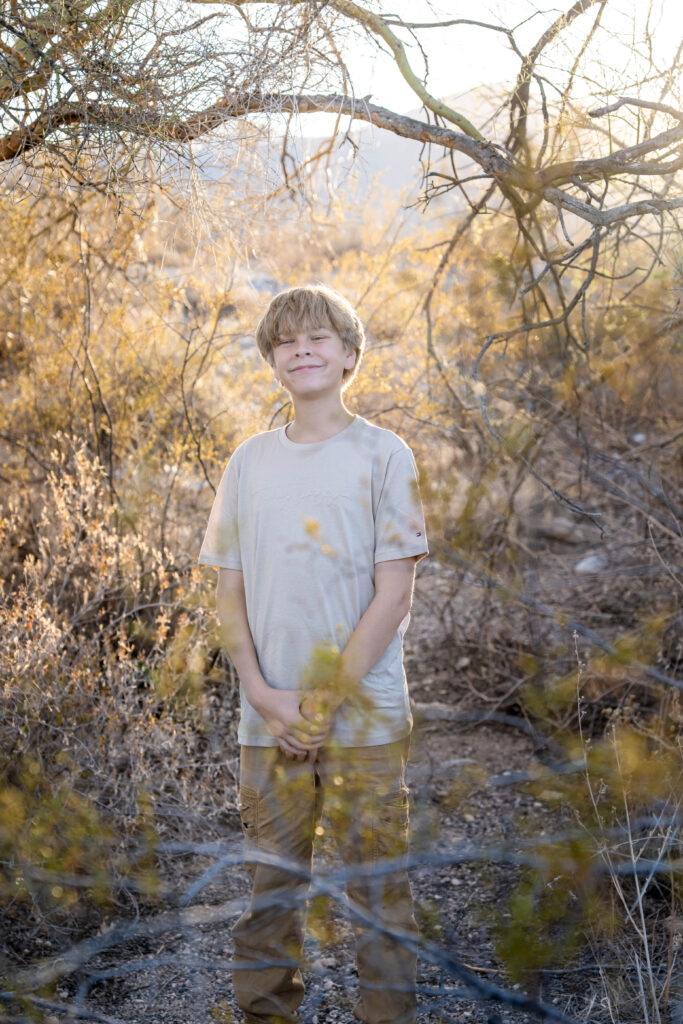
- Individual portraits of each kid
- Photos of the kids with Layla
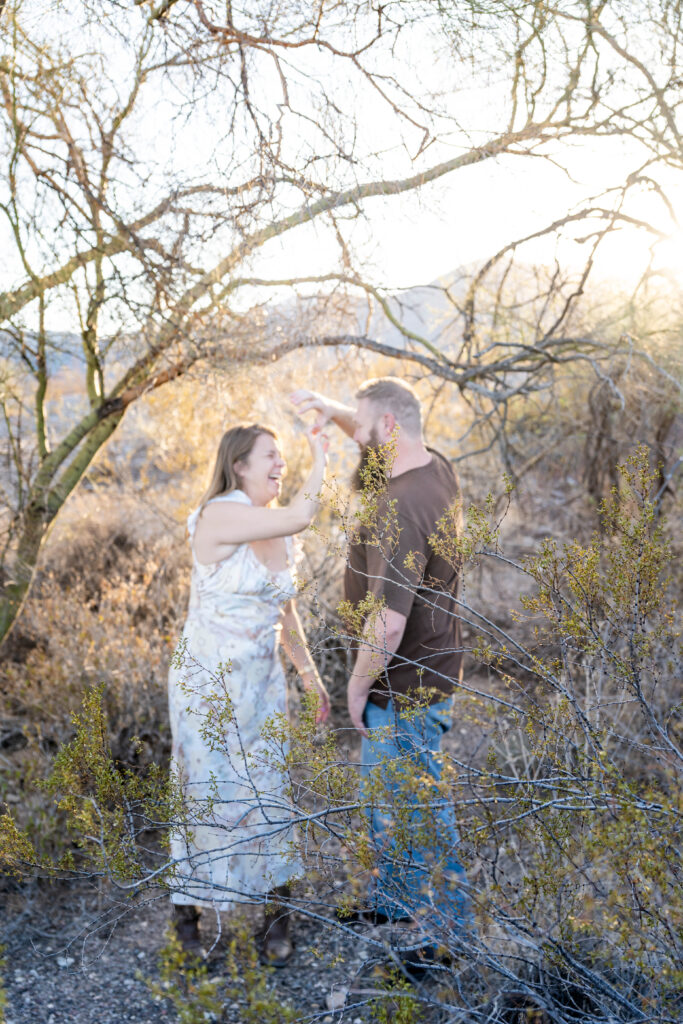
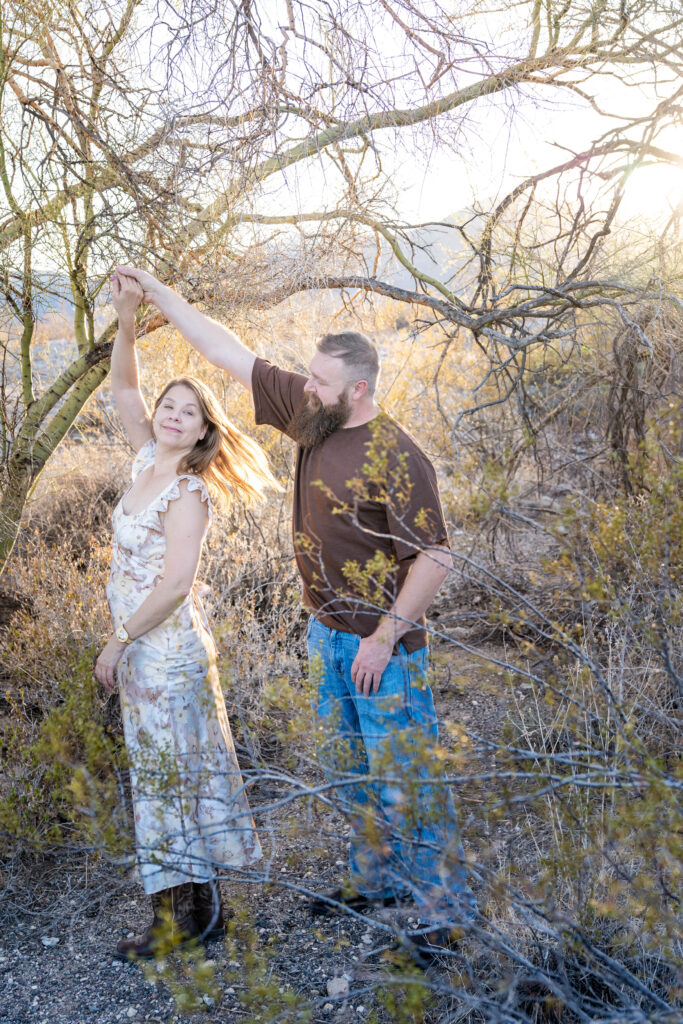
- A 10×20 collection of Ben and I dancing (or attempting to dance — because apparently we thought we knew what we were doing.)
On paper, it sounded amazing.
Then I laid everything out. And realized…
It was way too much. Sometimes less really is more.
I scaled it down and created something that felt more balanced for the space. This is why planning first matters!
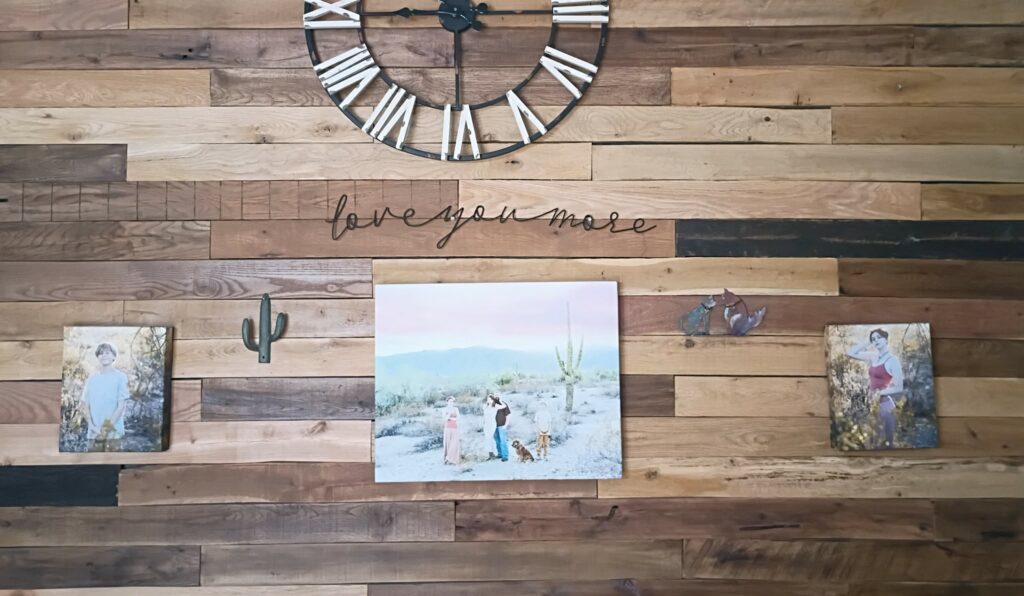
What I did:
- A large 16×20 family portrait with my favorite Arizona sunset.
- Two individual 8×10 photos of the kids
- A wire sign that says “Love You More” — something Ben and I say to each other all the time.
- A simple metal cactus
- Adorable metal kissing coyotes because, well, we are in Arizona.
And I am so in love with how it turned out. See it below and let me know what you are dreaming of for your own gallery wall.


If you create your own gallery wall using these tips, I would love to see it! Tag me on Instagram at @kimvanosphotography so I can celebrate your memories with you.
